
Table of Contents
MPINO STUDIO 2 User Manual
MPINO Studio 2 is a desktop application for writing Arduino C code and ladder logic, building and uploading projects, and monitoring ILOGICS MPINO and MPAINO industrial Arduino controllers.
Download the installer Create your first project

Installation
Check the download page below for the latest release status and changes before installing.

- Open the MPINO STUDIO 2 installer download page.
- Download and run the latest installer listed on the page.
- If Windows displays an Unknown publisher warning, select More info → Run anyway.
- Allow installation when Windows requests administrator permission.
- Complete the installation and start MPINO Studio 2.
After installation, double-click a .mp2 project file to open it in MPINO Studio 2. On first start, the application language follows the language of the installer (Korean, English, or Japanese), and you can change it under Language in File → Preferences → General.
MPINO STUDIO 1.x project files cannot be opened in MPINO Studio 2. Create a new project and re-enter the previous ladder logic and code after checking them.
Video Overview
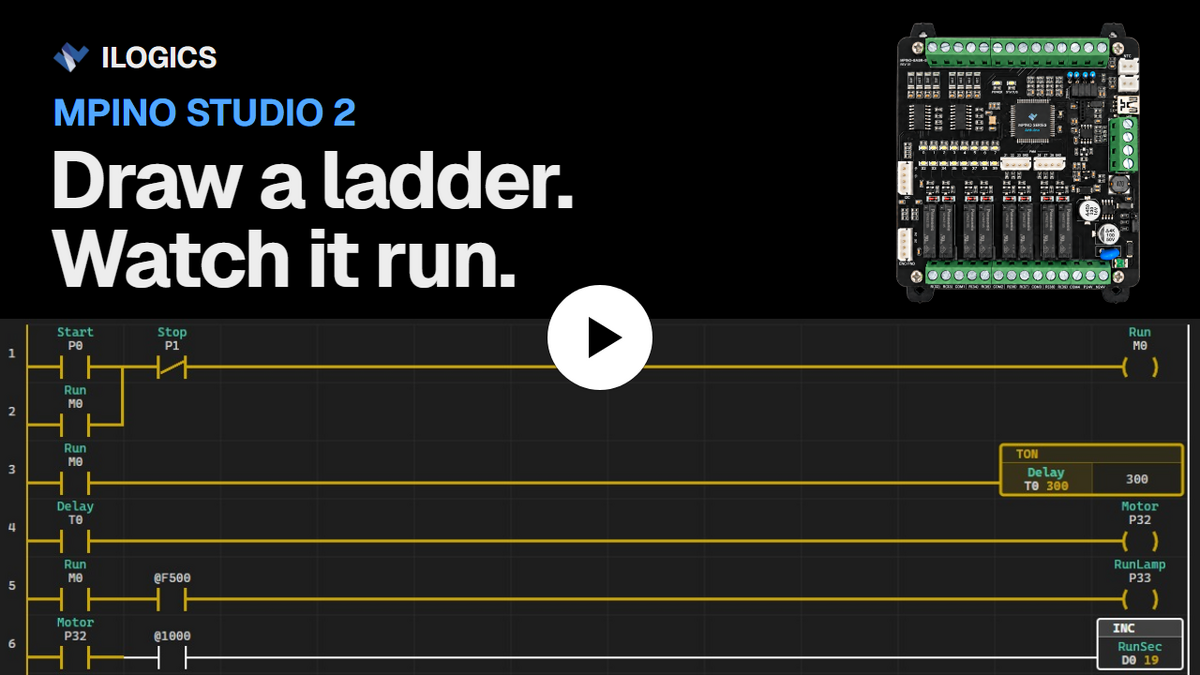
In this one-minute video, a start/stop circuit with a 3-second start delay is drawn as a ladder, built, uploaded over USB, and monitored live on an MPINO-8A8R(T)-S. The build and upload are shown faster than real time.
Start Here
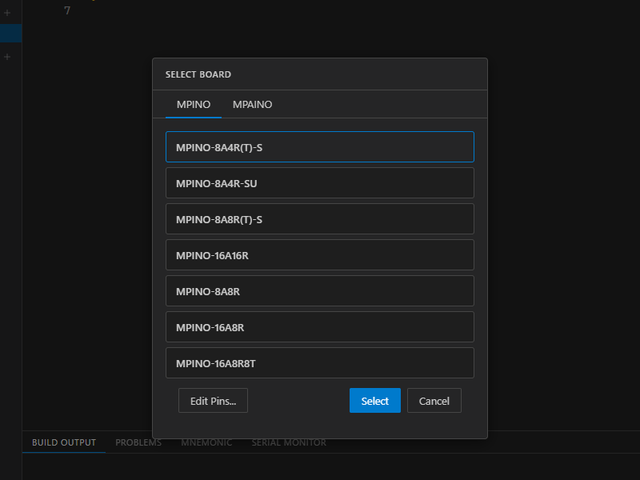 Phase 1 · Create Your First Project
Create a project, select MPINO-8A4R(T)-S, and draw a ladder circuit in which inputP0controls outputP32. You will then build the project, select a port, upload it, and check operation with the Serial Monitor and real-time ladder monitoring.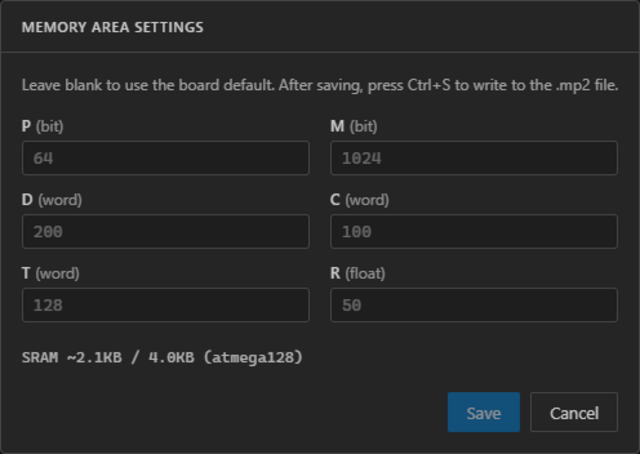 Phase 2 · Understand Memory
Learn the differences between P, M, D, C, T, and R memory, data types, and address notation. Review memory-region settings, locate memory usage, and understand special-bit memory.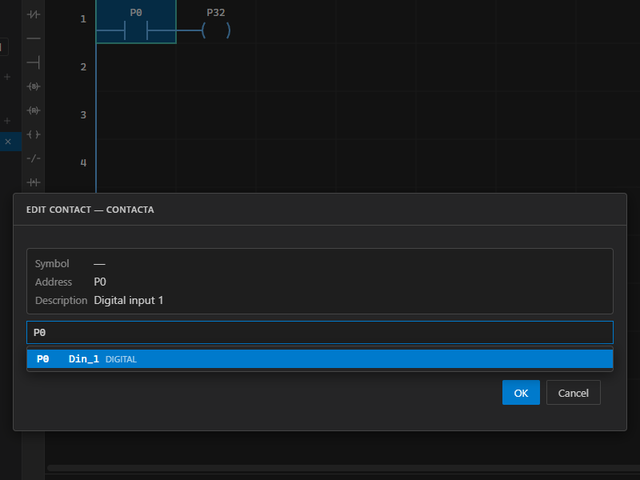 Phase 3 · Ladder Editing Basics
Learn cell selection, memory writing, structural editing, NO and NC contacts, output coils, series and parallel connections, SET and RESET coils, edges, and a self-holding circuit.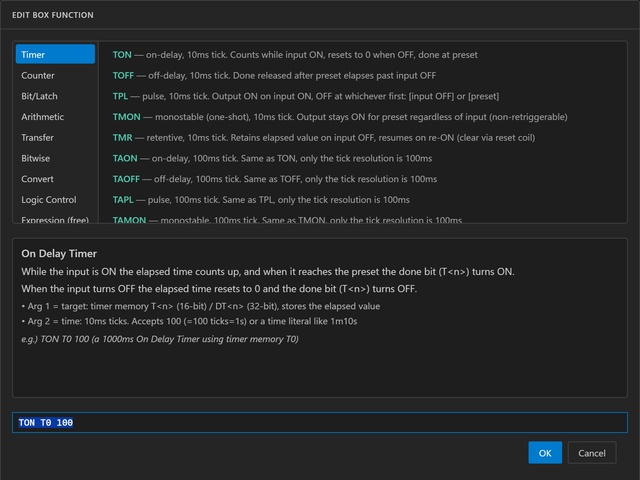 Phase 4 · Box Functions
Learn how to enter and edit box functions and when they run, then use timers, counters, arithmetic, transfers, bit operations, conversions, logic control, and free-form input.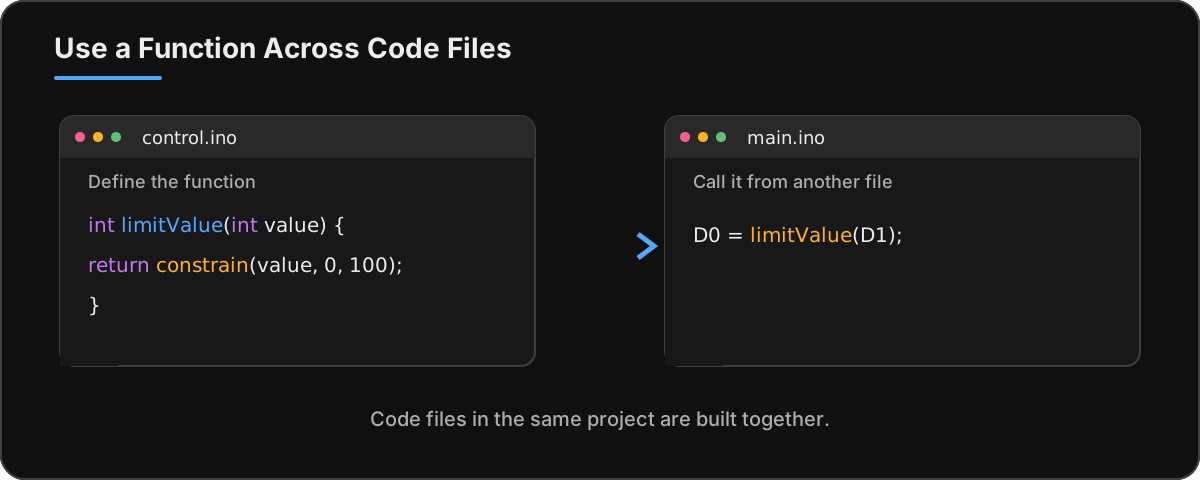 Phase 5 · Editing Arduino Code
Create and manage code files, use functions across files, work with completion and definitions, find and replace text, and locate code errors.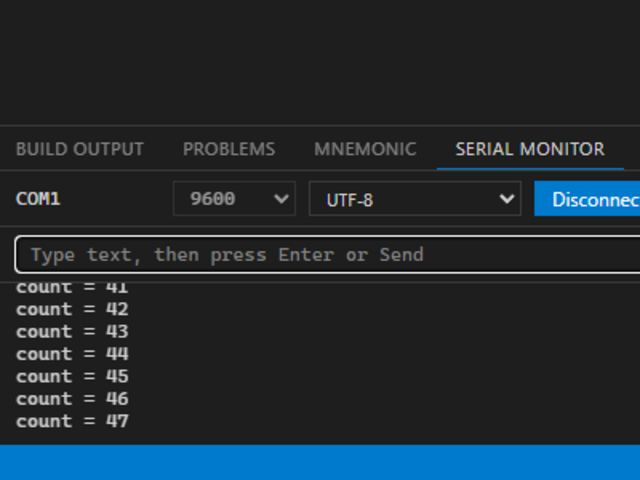 Phase 6 · Serial and Ladder Monitoring
Receive and send text or HEX data, configure ladder monitoring, read power flow and live values, select number formats, and understand port sharing.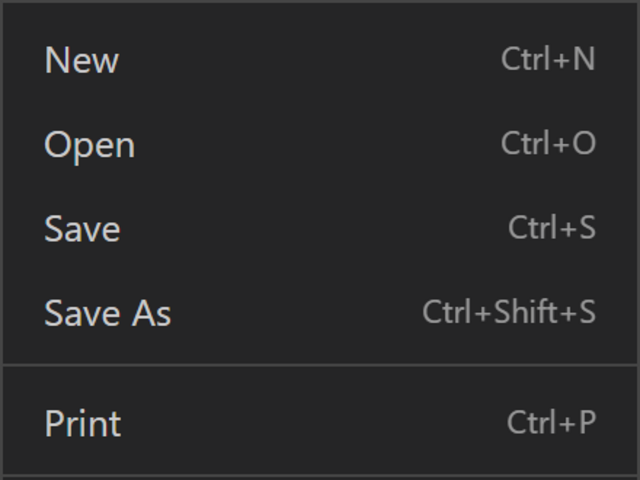 Phase 7 · Menus and Preferences
Open, save, and print projects; configure preferences and communications; write memory; change boards and pin maps; configure EEPROM retention; and use the Help menu.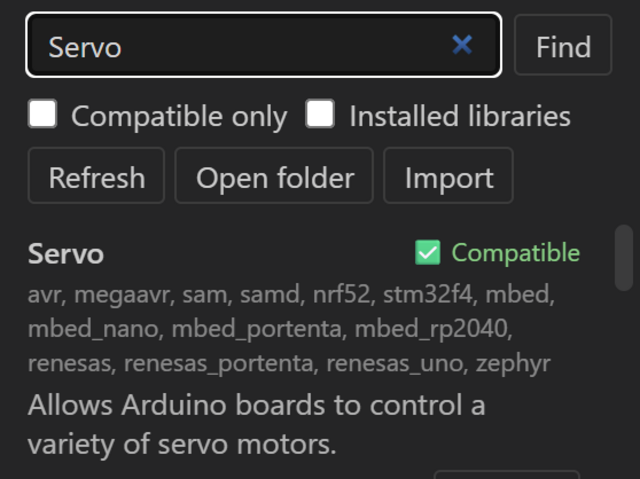 Phase 8 · Activity Bar and Side Panels
Open Explorer, Ladder Settings, Libraries, and Symbols; check the project and board; install or import libraries; and manage symbols.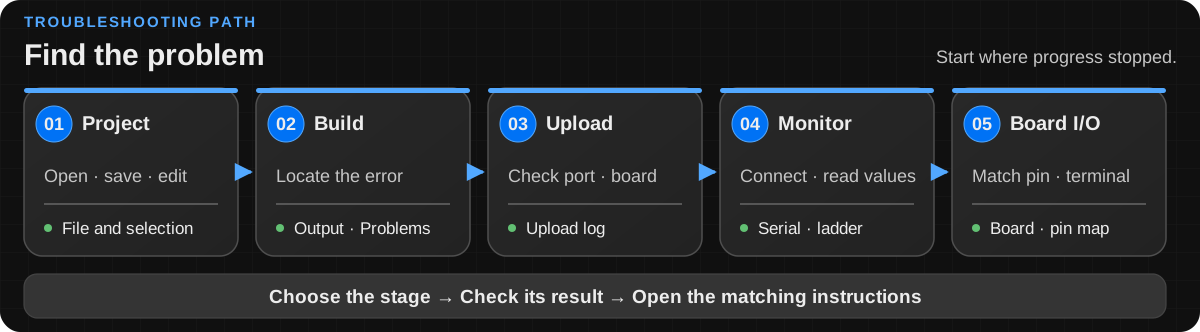 Phase 9 · Troubleshooting
Find the first place to check and the detailed instructions when a build, upload, monitor connection, or I/O result fails.